
When a PC power supply breaks down or starts to wear, it has to be replaced. With a few tools and the help of this guide, you can do the job yourself.
Method 1 of 3: Diagnosing a damaged PC power source
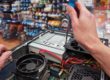
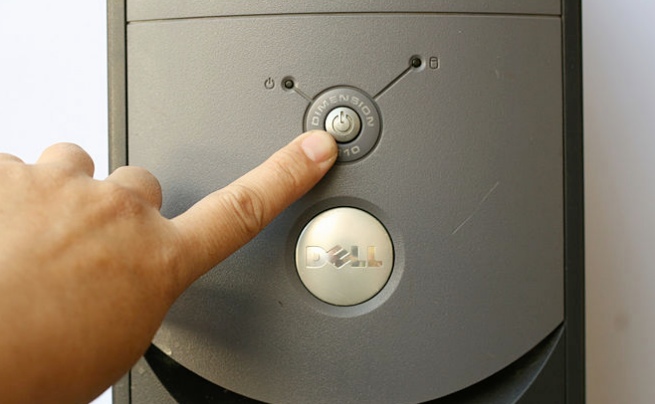
1. Start your PC diagnostic by making sure everything is connected. It is entirely possible that a cable became unplugged while you were working. If current is present on the monitor and other peripherals and still no electricity in your computer, it is probably something wrong with your power supply. Tap the power button. The most obvious clue is that the system will not to do anything when you press the button. If there is no sound or activity of any kind, the power supply is probably damaged. Although this may be caused by a damaged button, it is normally the result of a burned out power source.
2. Observe when your computer starts. Notable changes in the time it takes for your computer to start up and shutdown, as well as spontaneous rebooting, can be a sign that something is wrong.
3. Check for “beeps”. If the system makes short, quick “beeps” repeatedly and does not start when you try to do so, this may be linked to the power source.
4. Observe any computer failure. If there are system failures or power locks, memory errors, corrupt hard drive files, or power problems with USB system, this is usually directly associated with your power source.
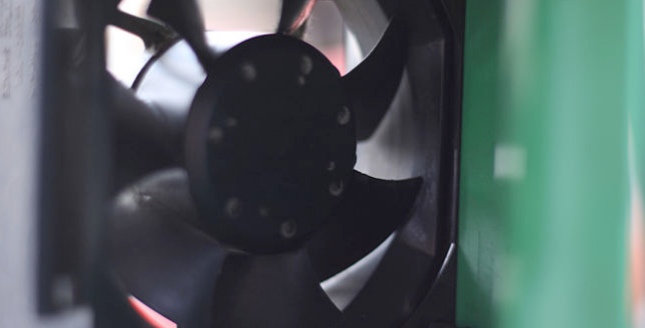
5. Check the fan on your computer. If your computer fan is failing to turn, it can lead to overheating and smoke in the system, which can be caused by a damaged power supply.
Method 2 of 3: Remove the damaged power supply from the PC
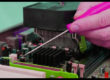
1. Familiarize yourself with DES procedures. This has to be done before making any type of PC repair work which requires opening the computer. If you skip this step, you can damage it.
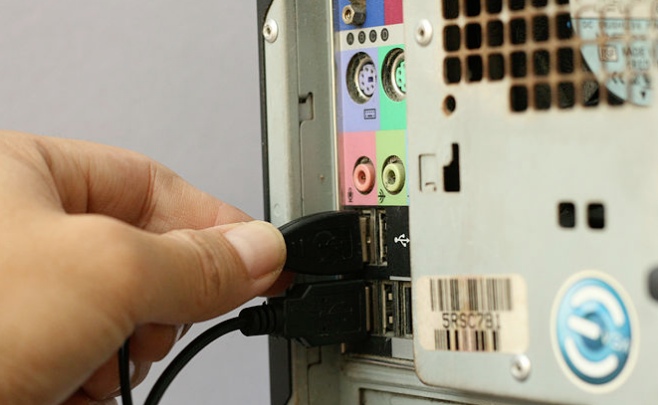
2. Disconnect all external connectors (including the power cord) from the machine. This includes the keyboard, mouse, network cable, and speakers.
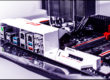
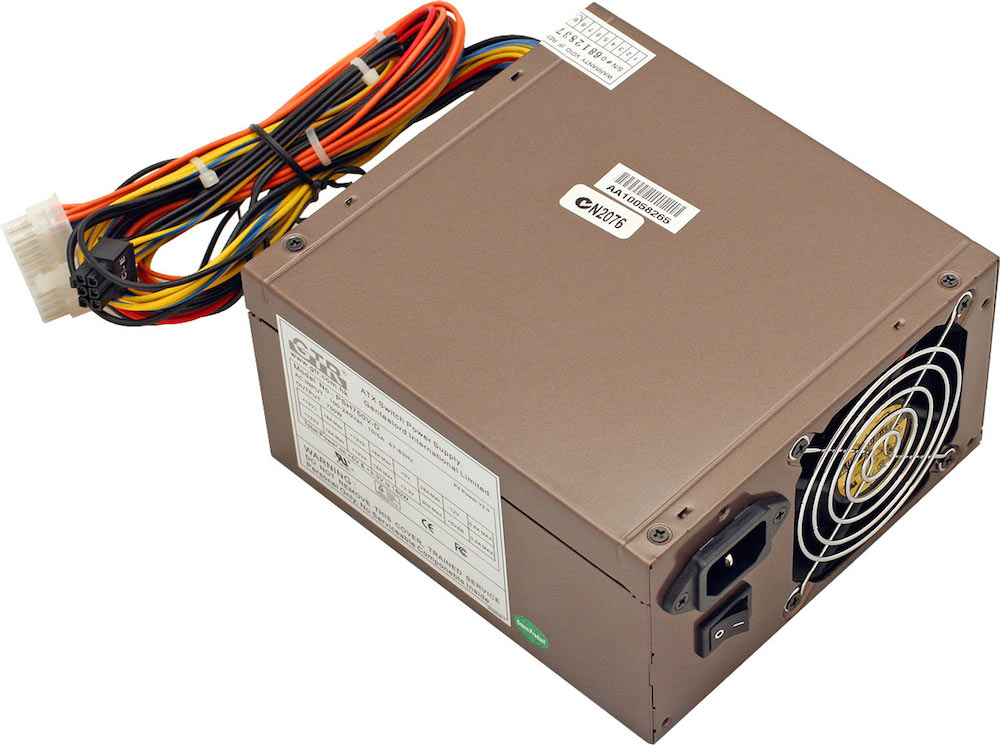
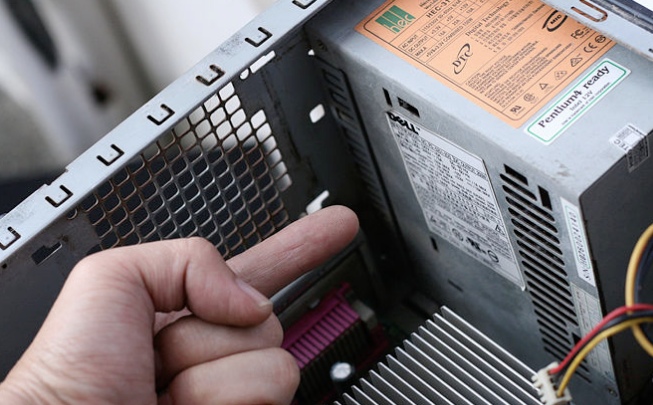
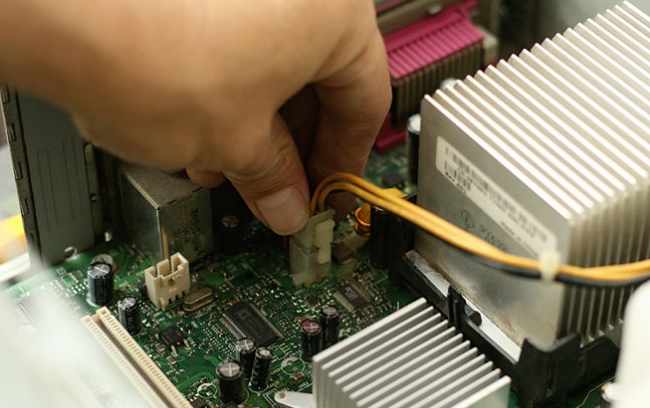
3. Identify the unit’s power source. It is going to be connected to almost all components inside the computer case and is going to look like this:
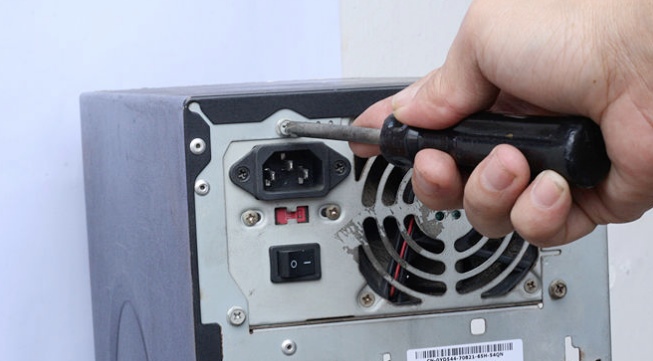
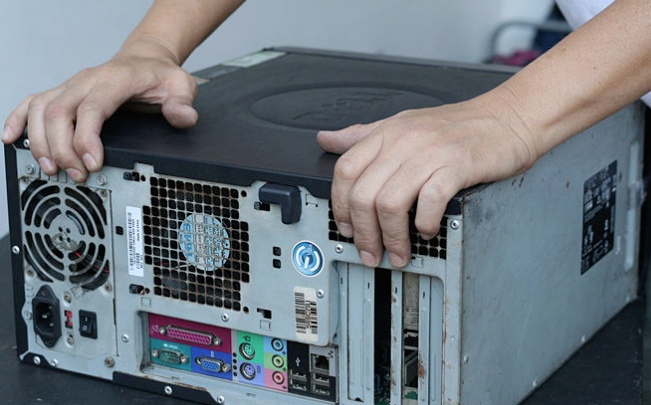
4. Remove the enclosure cover. Loosen the screws in the seams or the screws at the back of the cabinet that holds the power supply in place. Place the screws in a safe place.
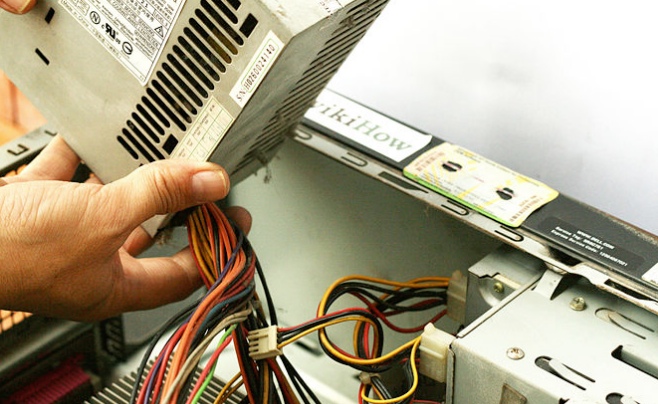
5. Gently remove the old power supply cabinet. This is usually a simple process, but if there is little space in your cabinet, it may be necessary for you to remove other components to be able to remove the power supply. If you are not comfortable removing other components, put the screws back and seek help from a computer expert before proceeding. Do not try to remove a power source by force.
Method 3 of 3: Replacing a damaged power source
1. Buy a power supply that is the same as the previous one. Most power supplies used in modern computers are of the variety “ATX”, but if you’re not sure, take the old drive to the store to compare.
The simplest rule is that the new drive has to be exactly the same width as the previous one. It’s okay if the new drive is longer, as long as it still fits in your case. Do not hesitate to as the technician or the seller for help identifying the right unit to buy.
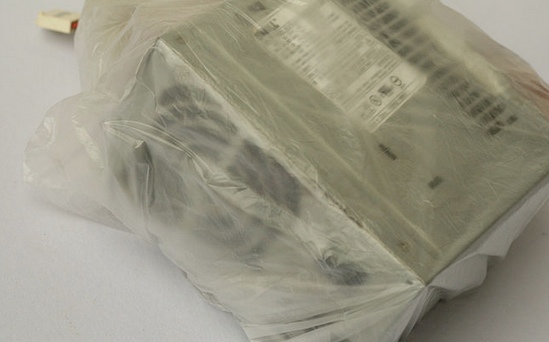
2. Remove the replacement power supply package and make sure you that it physically fits correctly. If the new unit has a large fan mounted on the bottom, the flange on the rear bottom of the casing can get in the way. Add it to the housing in the same place where the old unit was and use the mounting screws to secure it.
3. Using DES procedures connected your PC devices to the new source of power. The connections have to be the same as they were before. It may require some force to insert power connections properly, but if you apply too much force to put them in, you may be trying to connect them backwards. It is very difficult to connect any of the Molex connectors incorrectly, but if you’re determined (and strong) enough, it can be done. If you have to use much force, try flipping the connector.
4. Check that no unused cables or connectors stuck in the CPU fan or touching other moving parts. If the CPU fan stops due to a loose connector (or other obstruction), the processor can be destroyed very quickly. You’ll want to hold any unused cord to prevent tangling in the fans.
5. Replace and adjust the casing cover.
6. Replace all external connections on the back of the computer (power cord, mouse, keyboard, monitor, network cable, speakers, etc. ) Turn on the system and enjoy your new power source.
If your system does not start properly, your power supply may have damaged your motherboard.

Advice
- If you’ve gone through several power sources in a short period of time, you may have a damaged outlet. This can be exacerbated by sources of cheap power, as they are not considered highly resistant parts.
- If you purchased your marginal power source, it is possible that the initial current demanded by the drives may exceed the limit of the power supply. The wattage of the power supply has “maximum” definitions that may benefit the manufacturer, consider using weight as a sign of skill. Heat dispersers and larger capacitors weigh more.
- If you suspect your power supply is failing, replace it. A common clue to a power source that is failing is buzzing or shrill noise from the area of the housing in which the power source is located. Do not wait until the power breaks down, because failure can cause voltage problems that can ruin your motherboard, hard drive, or other components.
- Invest in a high quality power source. Do research before you buy one. More wattage on the package does not mean it’s better. Most home PC do not use more than 300W, although this is not what the people marketing power sources want you to know. The unit should provide adequate wattage for your needs. Do not skimp on the power supply, as you may regret it later. Power supplies that fail can damage other components in your computer, especially the motherboard.
Warnings
- Do not try to open a power source unit or try to fix it or experiment with the parts if you are not familiar with working on high voltage circuits. Power supplies contain capacitors that can hold dangerous charges for several minutes. Take your unit to a qualified electrician or, better yet, recycle it and replace it with a rebuilt unit. The cost of repairing a damaged power source is very often higher than the cost of a replacement unit.
- Sometimes a damaged power supply can contribute to reboot, causing only minor blockages and power outages. If this is the case, you should try to find other problems before changing the power source. While it is always better to replace a power source that you have a good reason to think you is failing, you have to make sure the problem is not because of other factors.
- Do not try this on Dell computers! Some Dell computers are designed to use a strange connector. If you use a standard power source, you can damage the power source, motherboard, or both. This is also true for Compaq, some HP and other PC brands. Check first. The Dell uses the same connections that normal ATX systems use, but is wired in a nonstandard way.
- The Electrostatic Downloads (DES) are dangerous for the computer hardware. Be sure to use an anti-static wrist strap that is properly grounded to remove DES before working on the power source. The easiest way is to use the anti-static wrist strap and adjust the caliper to the housing of the computer.
We hope this article has been helpful. And remember, if your computer crashes and you need a professional and trained technician who will help immediately, trust 911-computer.com, the best at-home computer repair service in Houston, TX.